

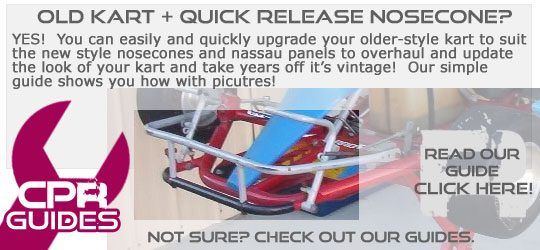
GUIDE - Fitting quick release nosecones to old karts
GUIDE - Fitting quick release nosecones to old karts
Have you got an old-style retro nosecone held on by two thumbscrews? If so, you'll find that obtaining those types of nosecones is now near on impossible. The easy solution is to upgrade to a quick release nosecone (which you'll also need if you want to use it for KA racing where a drop-down bracket is required).
It's very simple. All you need to do is remove the two uprights on the front crash bar, then fit a pair of clamps.
This is done by removing the two screws/bolts at the bottom of the chassis. See the picture below - the two green arrows are pointing to the bolts you will need to remove.
Once those are removed, the top bar will swivel.
Remove the top bar and using a saw or grinder lop the two uprights off - these are no longer used. Smooth out the remaining surface with a grinder and paint the exposed surface.
Re-install the top crash bar onto the kart - do not over-tighten the two bolts holding ito onto the tabs of frame.
The new quick-release nosecone can now be fitted between the top crash bar, and the bottom bar of the chassis.
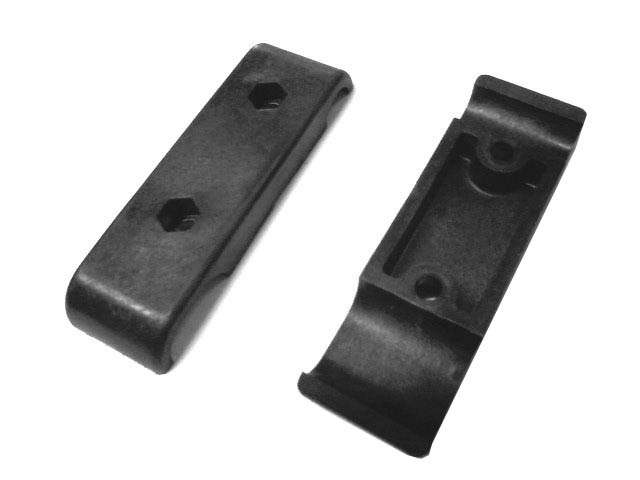
Use two nosecone clamps to retain the nosecone. We recommend using zip-ties to hold the clamps closed so they do not open unexpectedly. You can buy a pair by clicking here
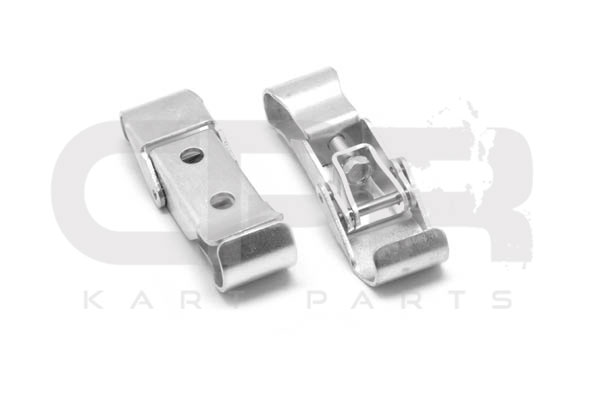
It is best practice to use a plastic retainer as well. You can find the retainer by clicking here