
GUIDE - CPR Billet Linkage Installation
GUIDE - CPR Billet Linkage Installation
CPR BILLET THROTTLE LINKAGE KIT INSTALL
You can find this kit in our store by CLICKING HERE
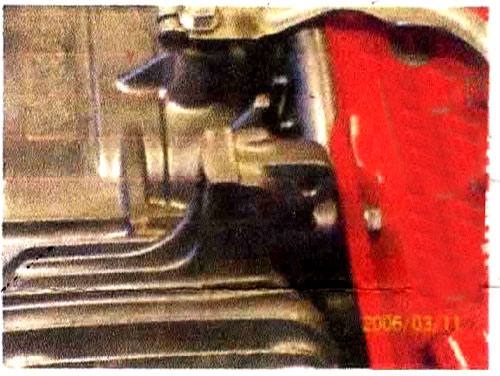
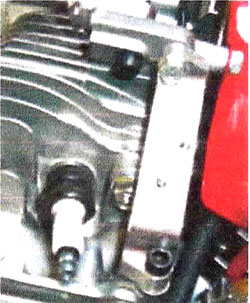
1. Locate Fuel Tank Mounting Boss as shown below:
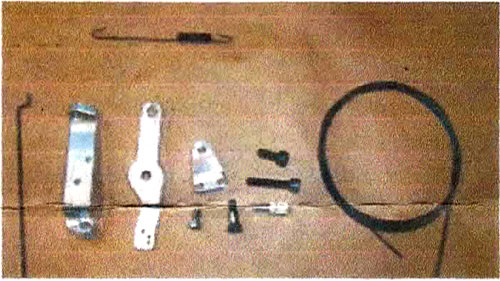
2. Make sure you have all the components as shown. You will also need one bolt from the original linkage plate:
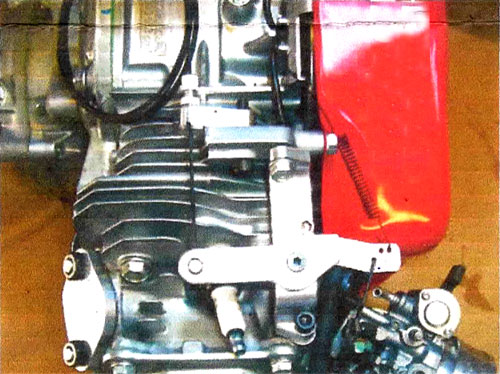
3. Insert Cable guide into Cable Guide Plate and attach to engine as shown using the long socket head bolt. Note: Guide Plate is machined differently on both sides for use on GX120s or GX160/200's
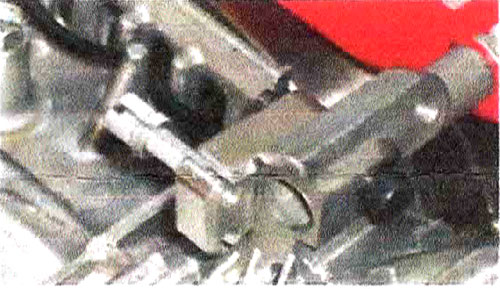
4. Attach throttle Plate base using short socket head bolt and one bolt (not included) from original linkage plate:
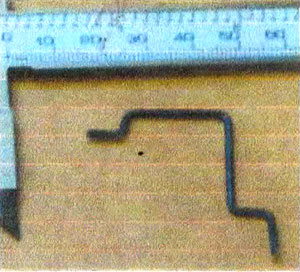
5. Bend rod as shown. Actual dimension will vary from motor to motor. If you need to re-bend, heat it first. If you break it you can use an 0.060" to 0.075" steel wire/rod.
6. Assemble Rod and Throttle arm using shoulder bolt. Attach spring as shown and install optional throttle return stop.
NOTE: The linkage has been redesigned since the pictures above were taken. It is slightly different to those pictured.
1. The new linkage has a 'spear' which the cable guide and the spring attaches to instead of the 'triangle' piece shown.
2. The bearing is now on the top of the arm (not on the bottom as shown)
3. There is a split washer between the arm and mounting bracket
4. Linkage now has an adjustable throttle stop.