SAFELY BOOST YOUR KT100 POWER - Tune it the right way, quickly and easily. NEW 2019 MODEL!
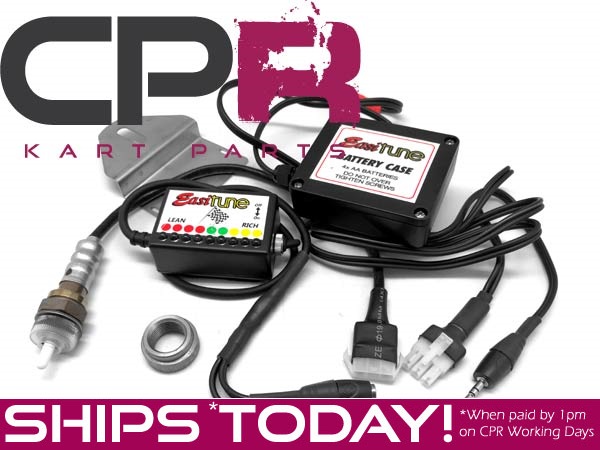
THIS IS THE NEW 2022 MODEL (this new model does not have the old rechargable battery pack - it's now powered by 1x9V battery - not included)\
HAS 9V BATTERY CLIP not battery box as pictured
SAVE YOUR KT100 FROM SEIZING!
OPTIMAL TUNING - FASTER LAPS
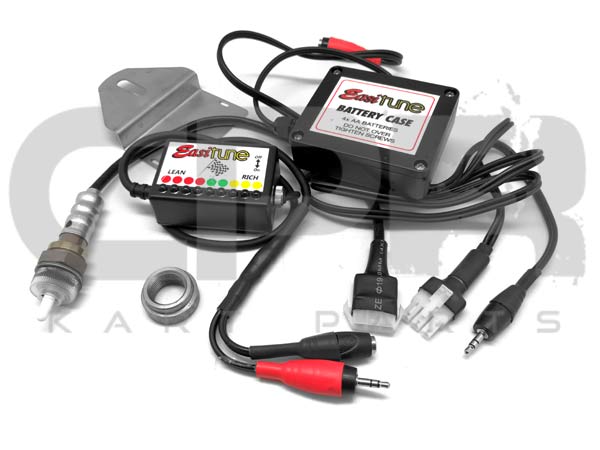
No guessing required, the lights on the Easi-Tune module show the exact tune of the engine at all times, so you can tune for safety and performance.
PROPER MIXTURE (O2) SENSOR
The Easi-Tune system doesn’t rely on exhaust temp to determine mixtures, but instead uses modern technology (the o2 sensor) to identify the mixture ratio for an accurate and instant analysis of tune. With the Easi-Tune, you’ll be able to tune accurately, allowing you to concentrate on driving rather than on your engine temp so you can drive faster!
POWERED BY AA'S
The new model (2019) in stock is powered by AA batteries, rather than the older battery-pack with a special non-standard charger. This way you’ll be able to carry a spare set of batteries so you’re always fully charged.
This system was designed to make tuning of your race engine easier and more accurate, as it tells you the MIXTURE, not the exhaust temp.
With the advent of intake & exhaust mufflers/silencers, earplugs, etc, the old “seat of the pants” tuning is verging on the impossible for the average racer.
A simple, ultrabright LED display is used, to depict the fuel mixture at a given point in time. The information is derived from a lambda sensor. (A modified sensor is used for twostrokes.)
CLICK HERE FOR Fitting Guide/Instructions
 |
To be fitted preferably, on the inside of a bend, or, in the primary divergence cone of the exhaust system (primarily for very high performance engines ie, CIK reed and rotary engines). It must be sited far enough from the engine, so as not to get too hot, but as it needs to reach 300 to 350 degrees C or higher, ( not too much higher), it can’t be too far away.
FOR GENERAL KARTING USE ,suggested fitting positions in photograph format, are available on the web site. For other usage and fitting, refer to www.easitune.com, or if there is no example, email [email protected], and allow a few days for an answer, also supplying your name and a contact phone no.
|
A basic “rule” for Karting applications is:
- Draw a horizontal line, with texta, on the inside of the bend.
- Draw another line 10mm above the first line, and as near to the flex end as possible, site the weldin on the upper line, taking care that access is okay for the welding method to be employed.
- An 11mm hole is first drilled in the exhaust header, (or a 25mm hole in a muffler), having made sure again, that access for welding is possible all around the weldin.
- Site the weldin over the hole, central, and weld on. On normal steel headers and mufflers/pipes, bronzing is the preferred method, but TIG is best for stainless pipes/headers.
Filing of the weldin to fit the weld face is not always beneficial. Depth of penetration of the probe is a consideration, especially in a header, and it is not always necessary to insert the sensor it’s full distance.
The sensor is temperature dependant. Weldins are supplied “stepped” and can be fitted into a 25mm hole. This is only normally done when fitting into a muffler.Refer to tech help, if unsure.
For unknown applications, the FITTING SITE may be determined by using an INFRARED temp unit, which are now easily purchased at a reasonable price. This needs to be checked whilst running under load. 300-350C is a desired temp. |
 |
PLEASE REMEMBER the sensor is a fragile item, and should be handled with care!
For 2stroke use, the sensor is “modified”, but for 4strokes, the factory shielding must remain, so at time of purchase, it is easier to be supplied the correct sensor at point of sale.
Where temperature is a problem, i.e, not hot enough at the siting position, sensors are available that have “preheating”. As these require a 12 volt supply, they are only used in larger engines, with their own charging system
 |
The Gauge is to be sited where easily seen, but preferably not with the LED’s pointing directly towards your eyes, as they are VERY bright.
For use at night, tape or a deflecting shield, needs to be applied to cut down the light intensity.
The bright LED’s are necessary for certain conditions i.e. the sun over your shoulder. For a kart, on the steering wheel, above the “other” data system,.is an ideal placement.
It is not necessary to use the mounting bracket supplied, as the unit is small enough to mount almost anywhere, a simple matter of “sticking” the velcro to the required mounting position, and attaching the gauge.
A zip tie around the gauge unit is a safety precausion to ensure the secure attachment of the unit. The electronics of this unit are very robust, and failure of the electronic components is very unlikely. |
The integrated circuit, the “chip”, if faulty, is easily and cheaply replaced. All other exterior components, cables etc, are also replaceable, with a minimum of technical skills, and a minimum of cost, making the unit easily and cheaply fixed. A fault/remedy guide is available on the web site.
There are 9 high brightness LED’s along the bottom of the gauge, going from the LEFT, 4x red (lean), 2x green, and 3x orange/amber (rich).
Check in the tuning hints for further info.
THE SENSOR LEAD is on a kart, is run around the left side of the kart, away from all ignition sources.
The Sensor Lead is mounted and sited away from IGNITION interference, and on small race equipment, the sensor and it’s leads, should be kept as far as practically possible from ignition leads and rotors, as high voltage inductance is not a desirable item for integrated circuitry, and careful siting almost eliminates electronics failure.
The Battery Pack is now supplied as a case system - which can be fitted with standard or rechargable batteries (not included).
Velcro is supplied to aid fitting, but in a bad vibration or ride situation, additional security can be obtained by adding a “ziptie” around the unit.
The pack will last many hours, and charging on the way to and from the track, is usually enough to keep the pack “topped up”.
PLEASE READ the fitting and tuning instructions - (note, these instructions are the old instructions - everything is the same except the charger and battery pack).

New. Click the condition meter to learn more about used items.
Brand New |