Sniper V2 INOX Front Steering Tuning
This month, after the huge success people are having after tuning their steering, we've decided to run a guide on how to use the Sniper V2 INOX Front Steering Tuning kit.
The guide is a reproduction of the operating manual, but is a fantastic reference for anyone looking to buy one of these incredible tools.
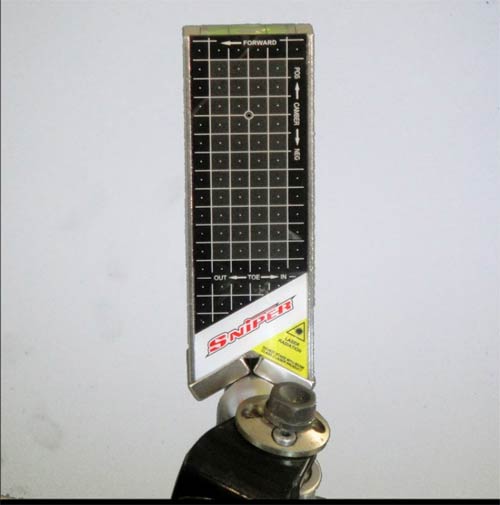
STEP 1 - Attaching the snipers
Make sure the Spindles and Magnetic Vee Block are clean and free of debris before attaching the Snipers. Fit your Snipers by carefully placing them onto the spindles with the forward arrows facing the front of the kart. These units will fit any diameter up to 63mm (2 1/2 inch), for non magnetic spindles simply use a cable tie or similar to attach the units.
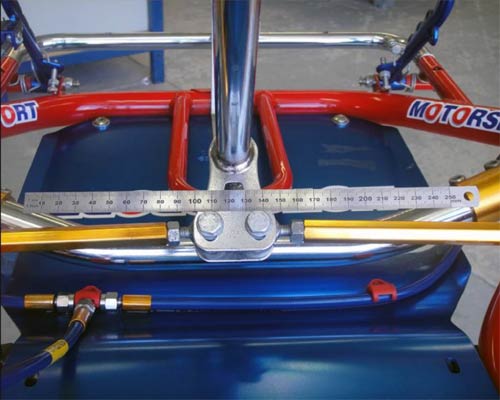
STEP 2 - Centralise Steering
The simplest way to get the steering centralized is to place the included steel rule in the centre across the lower steering shaft bracket and turning the steering shaft until you visually see an equal distance at both ends of the rule to the tie rods. You may clamp the top steering bush with vice grips or similar, if desired.
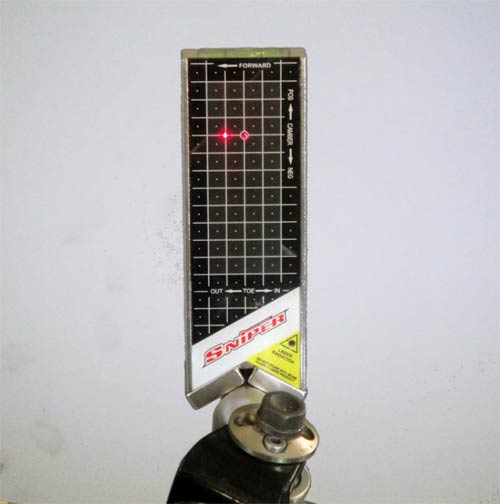
STEP 3 - Adjust Camber & Toe
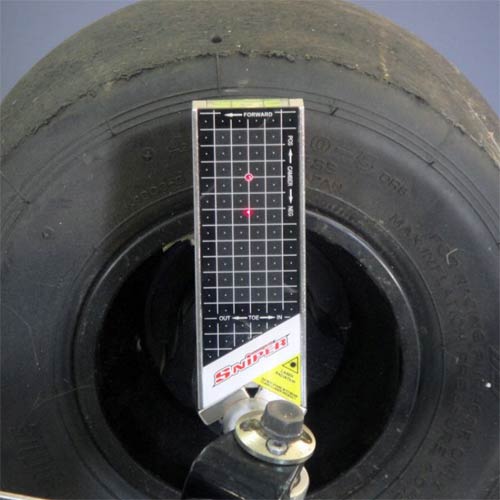
Turn your units on and align them to each other by centering the spirit levels, the spirit levels should be checked occasionally during aligning the kart. You are now ready to begin adjustment of toe and camber. The laser dot in the center of the grid is the beam shining out at the opposing unit. Readings are then taken from the unit opposite to the spindle being adjusted. REMEMBER: Each line equals 2mm of toe or camber per side. Add both sides readings together for the total alignment setting
STEP 4 - Check Castor
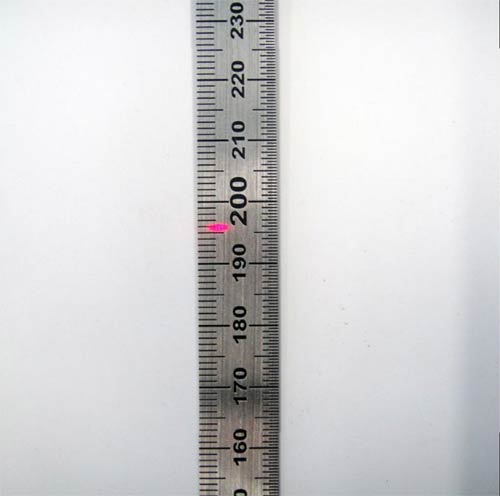
Once your toe and camber are set, it is possible to check that the caster is equal left to right on the kart. With the provided magnet attach the rule to the center of the kart, towards the front. You may use a steel washer or similar underneath the floor pan and attach the magnet directly to the floor pan. The rule needs to be positioned in a place that when you turn the steering wheel, the laser dot from the Sniper unit turning outwards crosses over the rule.
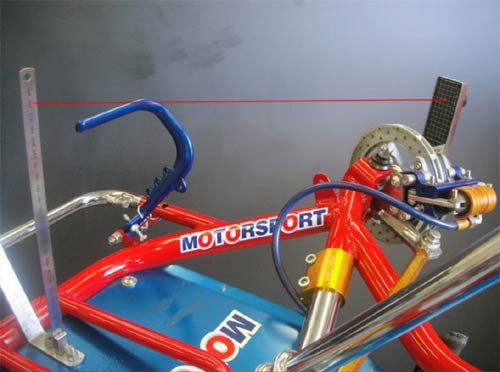
Turn the steering wheel one way until you see a laser dot on your rule. Record the distance and the proceed to turn the steering wheel the other way. Record the distance of the opposing laser dot. If the two laser dots record the same height, then your caster is equal on both sides. If there is a large difference recorded (over 2mm), check your camber/castor adjusters are set correctly, otherwise you may wish to have your chassis checked by a professional. The actual numbers on the rule do not refer to anything on the kart and are there purely for comparison. NOTE: 1 degree of castor is approximately 4mm difference on the rule.
STEP 5 - Check for Chassis Twist
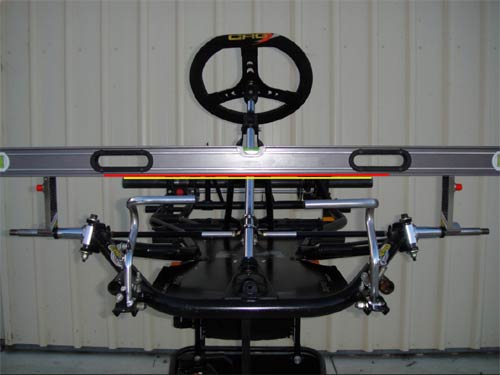
The chassis can also be checked for twist by placing a spare axle or straight edge on top of the Sniper units, stand back and view the gap between the straight edge and the rear axle in the kart (a light background may help), the gap should look the same. It is possible to see a twist as small as 2mm this way. Minor twists can often be eliminated using the clearance in the bolt holes on the rear bearing carriers.
STEP 6 - Correct dynamic settings
Now fit the wheels on you kart with the units still on and place it on a flat, level surface. Place the driver in the kart, this is the ‘dynamic’ setting as it shows you what your alignment will look like while on the track. The most accurate way the set up your kart is to measure, adjust and tighten your alignment and steering components while the kart is in it’s ‘dynamic’ state, this give’s you the true settings that you will run on the track and take out any clearances in the steering components. If you set up the kart on your stand, you will find the first time after the kart has been on the track, your settings will have changed due to all the components moving slightly from being under load.
CHECKING YOUR WHEELBASE
Once your front end is aligned correctly you can check your wheelbase by measuring from the rear axle to the spindle on one side of the kart and then on the other side, ideally the measurements are the same however Sniper suggest anything under 5mm difference is acceptable.
CHECKING YOUR KING PIN BOLTS
To check your king pin bolts are straight, loosen the bolt slightly and rotate it. If the bolt is bent you will see the camber readings on the opposing Sniper move, if they are straight there will be no effect on the camber readings.
CHECKING YOUR SPINDLES
Place your units close to the shoulders on your spindles, start to slide one unit out towards the end of the spindle, if you see the toe or camber readings change, the spindle is bent.
CHECKING YOUR SNIPERS
To check the calibration of your Snipers, fit the units as normal and record the toe and camber readings you have. Now put the units on back to front, the forward arrows should point to the back of the kart. The toe and camber readings should be the same as before within 1mm.
OPERATING PRINCIPLES
The Sniper unit works by essentially re-creating the axis through the two front wheels. The laser in each unit is hand calibrated to be perfectly parallel to each spindle. The reference axis formed by the laser beam is then projected on to a visual grid system to measure camber and toe simultaneously. Each horizontal line (the camber plane) on the grid is equal to 2mm camber per side. Similarly, each vertical line (the toe plane) is equal to 2mm toe per side. We have included a dot in the middle of each line as a visual aid to represent 1mm. Therefore, a movement of one full grid position on the camber plane on each side of the kart would give you what is commonly referred to as “4mm camber”. A movement of one full grid on the toe plane each side of the kart would equate to “4mm toe”. To keep your front end geometry symmetrical, both units should have the same toe and camber reading on each side where possible.
